Primer and Top Coat Stages
I use polyester spray filler, trade name "U-Pol Reface". It's like a thick milk or single cream and consists of paint and hardener. It's basically a sprayable body filler and sets rock hard giving a good surface over repairs which won't sink 6 months later.
It is applied over bare fibreglass and hard work to spray because it's so thick. Leave 24hrs before touching, de-nib (320Grit, dry)and then put on another coat.
At this stage it looks a flat, dull white colour with no sheen and a slight orange peel surface. A final de-nib with dry 320grit and we’re ready for primer.
The mantra - keep everything dry, avoid water at all costs.
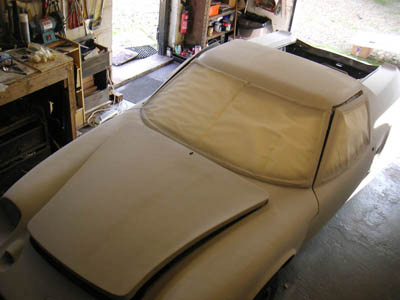
Spray Filler stage, dull cream, not impressive !
I used both grey and white coloured cellulose primer but next time I shall use 2-pack, catalysed primers because apparently they is less prone to sinking over time and also fully harden faster.
Update - I used 2 pack primers on the Elan in 2013, definitely the way to go.
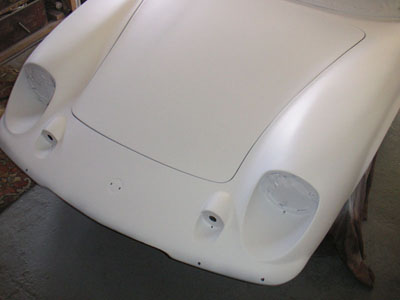
Primer stage finished, ready for colour
The process I used went something like this;
1 coat on top of the spray filler, leave overnight & then de-nib (dry) with 320 grit Then a second coat of the alternate colour primer followed by a 3rd coat, alternating colours.
Light sand with 500 grit with minimal soapy water. Any defects show up immediately with the colour differences but stop sanding before you break through the first primer coat - the mantra, “never let the spray filler get wet,”
Rebuild the alternate primer layers if necessary although if you've done the spray filler stage properly it should be fine. Once it looks defect free, spray a light primer coat to get a uniform base for the final coats. You should have a dull sheen on the primer now with a smooth surface.
And now we start to make progress.
For the first colour coat I use a very light coating which is almost transparent in places. This is followed by a heavier coating sprayed after 5 minutes and the colour depth starts to build up.
Leave for 10-15 minutes, this really depends on the ambient temperature and the evaporation rate of the thinner you are using, then another coat which is almost wet on wet.The surface may be touch dry or tacky, but would leave a fingermark.
Leave overnight. Next day check if it is hard enough to sand with 600 grit with clean soapy water. Try a test panel or somewhere under the sills, etc with a very light touch to just break the glaze.
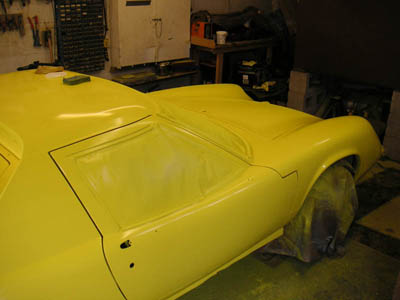
First colour coats going on
Dry thoroughly, walk away and leave for a few hours if possible. The car still looks flat, but it’s now recognisable as a car again and not a heap of junk.
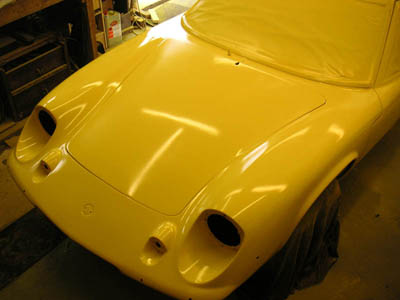
Almost finished Top colour, a dull sheen appearing
The final spraying stages are really down to you, with as many colour coats as you want to build the colour depth and allow you to cut back to remove any dead flies, dust, etc.
Generally speaking for a light colour I find I need more paint to get a real depth, and on this respray I bought 10L of topcoat. I didn’t use it all, it’s as well to retain a litre or so for future “incidents”.
This process may take several days because although it is touch dry in 15 minutes or so (temperature dependent) it takes much longer for all the solvent to fully evaporate out.
And if you put too much paint on too quickly, there will be problems later on when you fit up and find the underlying layers are still soft.
Don’t be too disheartened if there’s no showroom sparkle, that comes later.
Click on the button for the Final stage